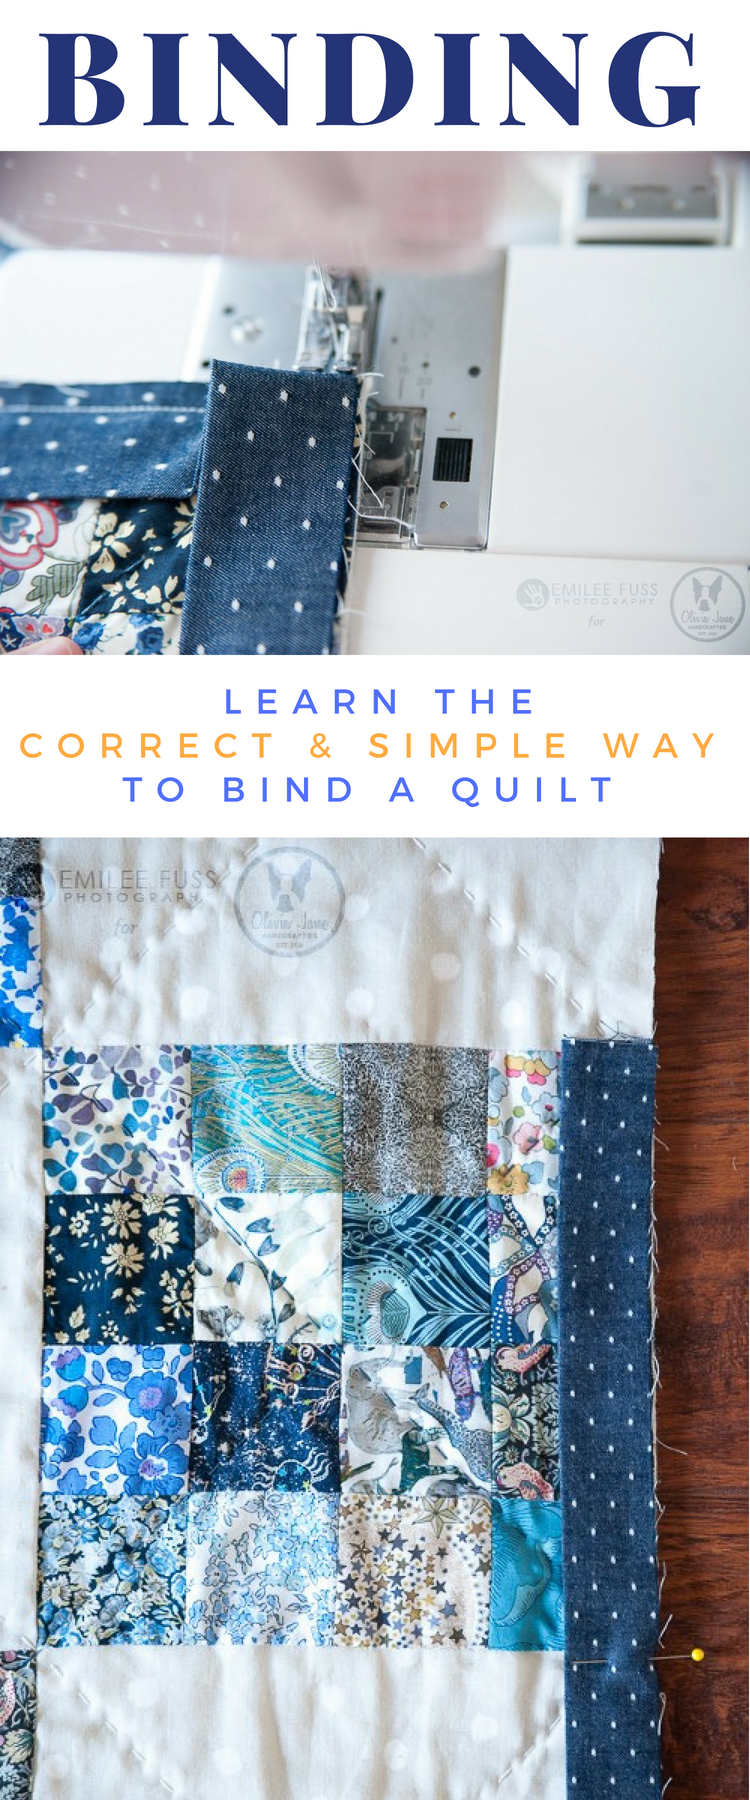
Your quilt deserves a perfect finish! Use this full step by step tutorial to learn how to bind the professional way! Its so easy and clean, you’ll be glad you did.

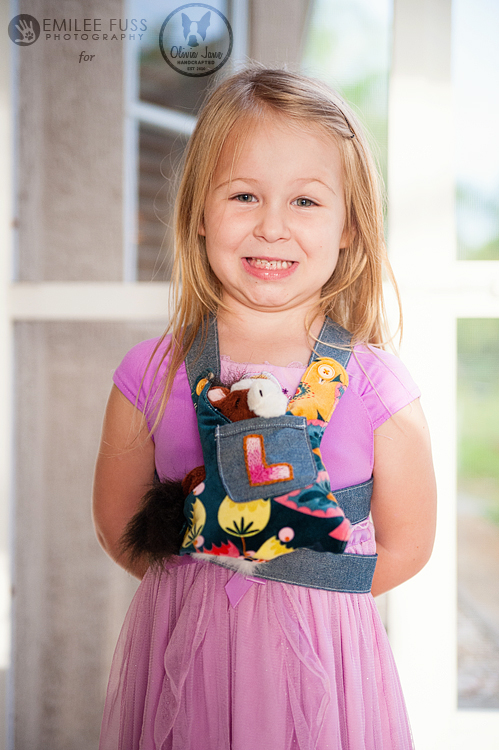
Remember that embroidery I showed you last week? Well this is what we’re turning those bits of stitching into. Layla and I haven’t quite finished our project, but I wanted to show you her baby carrier. This was intended to hold Pup, her beloved stuffed dog, but she bought a little horse that she wanted...

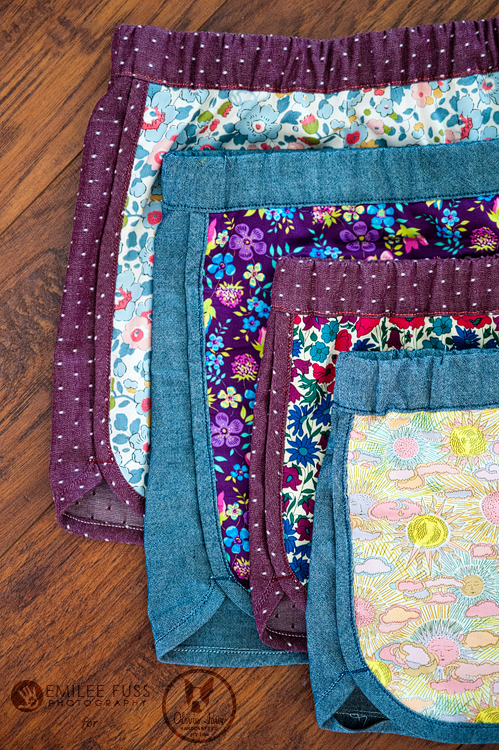
Last Thursday, I was finishing up trimming the bazillion half square triangles for my Field Day Churn Dash quilt, really focusing on completing the task at hand. But as it often does, Instagram stole my attention. Purl Soho posted a brand new project on their blog, the City Gym Shorts for young girls and women,...

Welcome to Olivia Jane Handcrafted! I'm Meredith and this is my creative journal. Here you'll find loads of inspiration for a handmade wardrobe, home decor, bags, and quilts. I even have plenty of projects and tutorials to get you started or help you along the way.
Thanks for this tutorial. I can always get my corners on the back looking fab, because you can manipulate as you hand sew them down, but the fronts always look awful. Maybe I should machine sew on the back side and hand sew on the front?
The corners will fold in opposite directions on the front and back. By stopping your stitching and folding prior to getting to the edge, you should have perfectly folded corners on the front and back of the quilt. You could try machine sewing from the back first. I’ve never used that method.
[…] for a small wall quilt. I bound it in Licorise, a black Free Spirit solid, using my go to, perfect finish binding technique, and it was finished! I’m happy to report my friend loved it! Its always a little […]
[…] baste your quilt, and quilt however you would like! If you need some guidance on binding, I have a great, picture filled tutorial to walk you through clean, professional […]