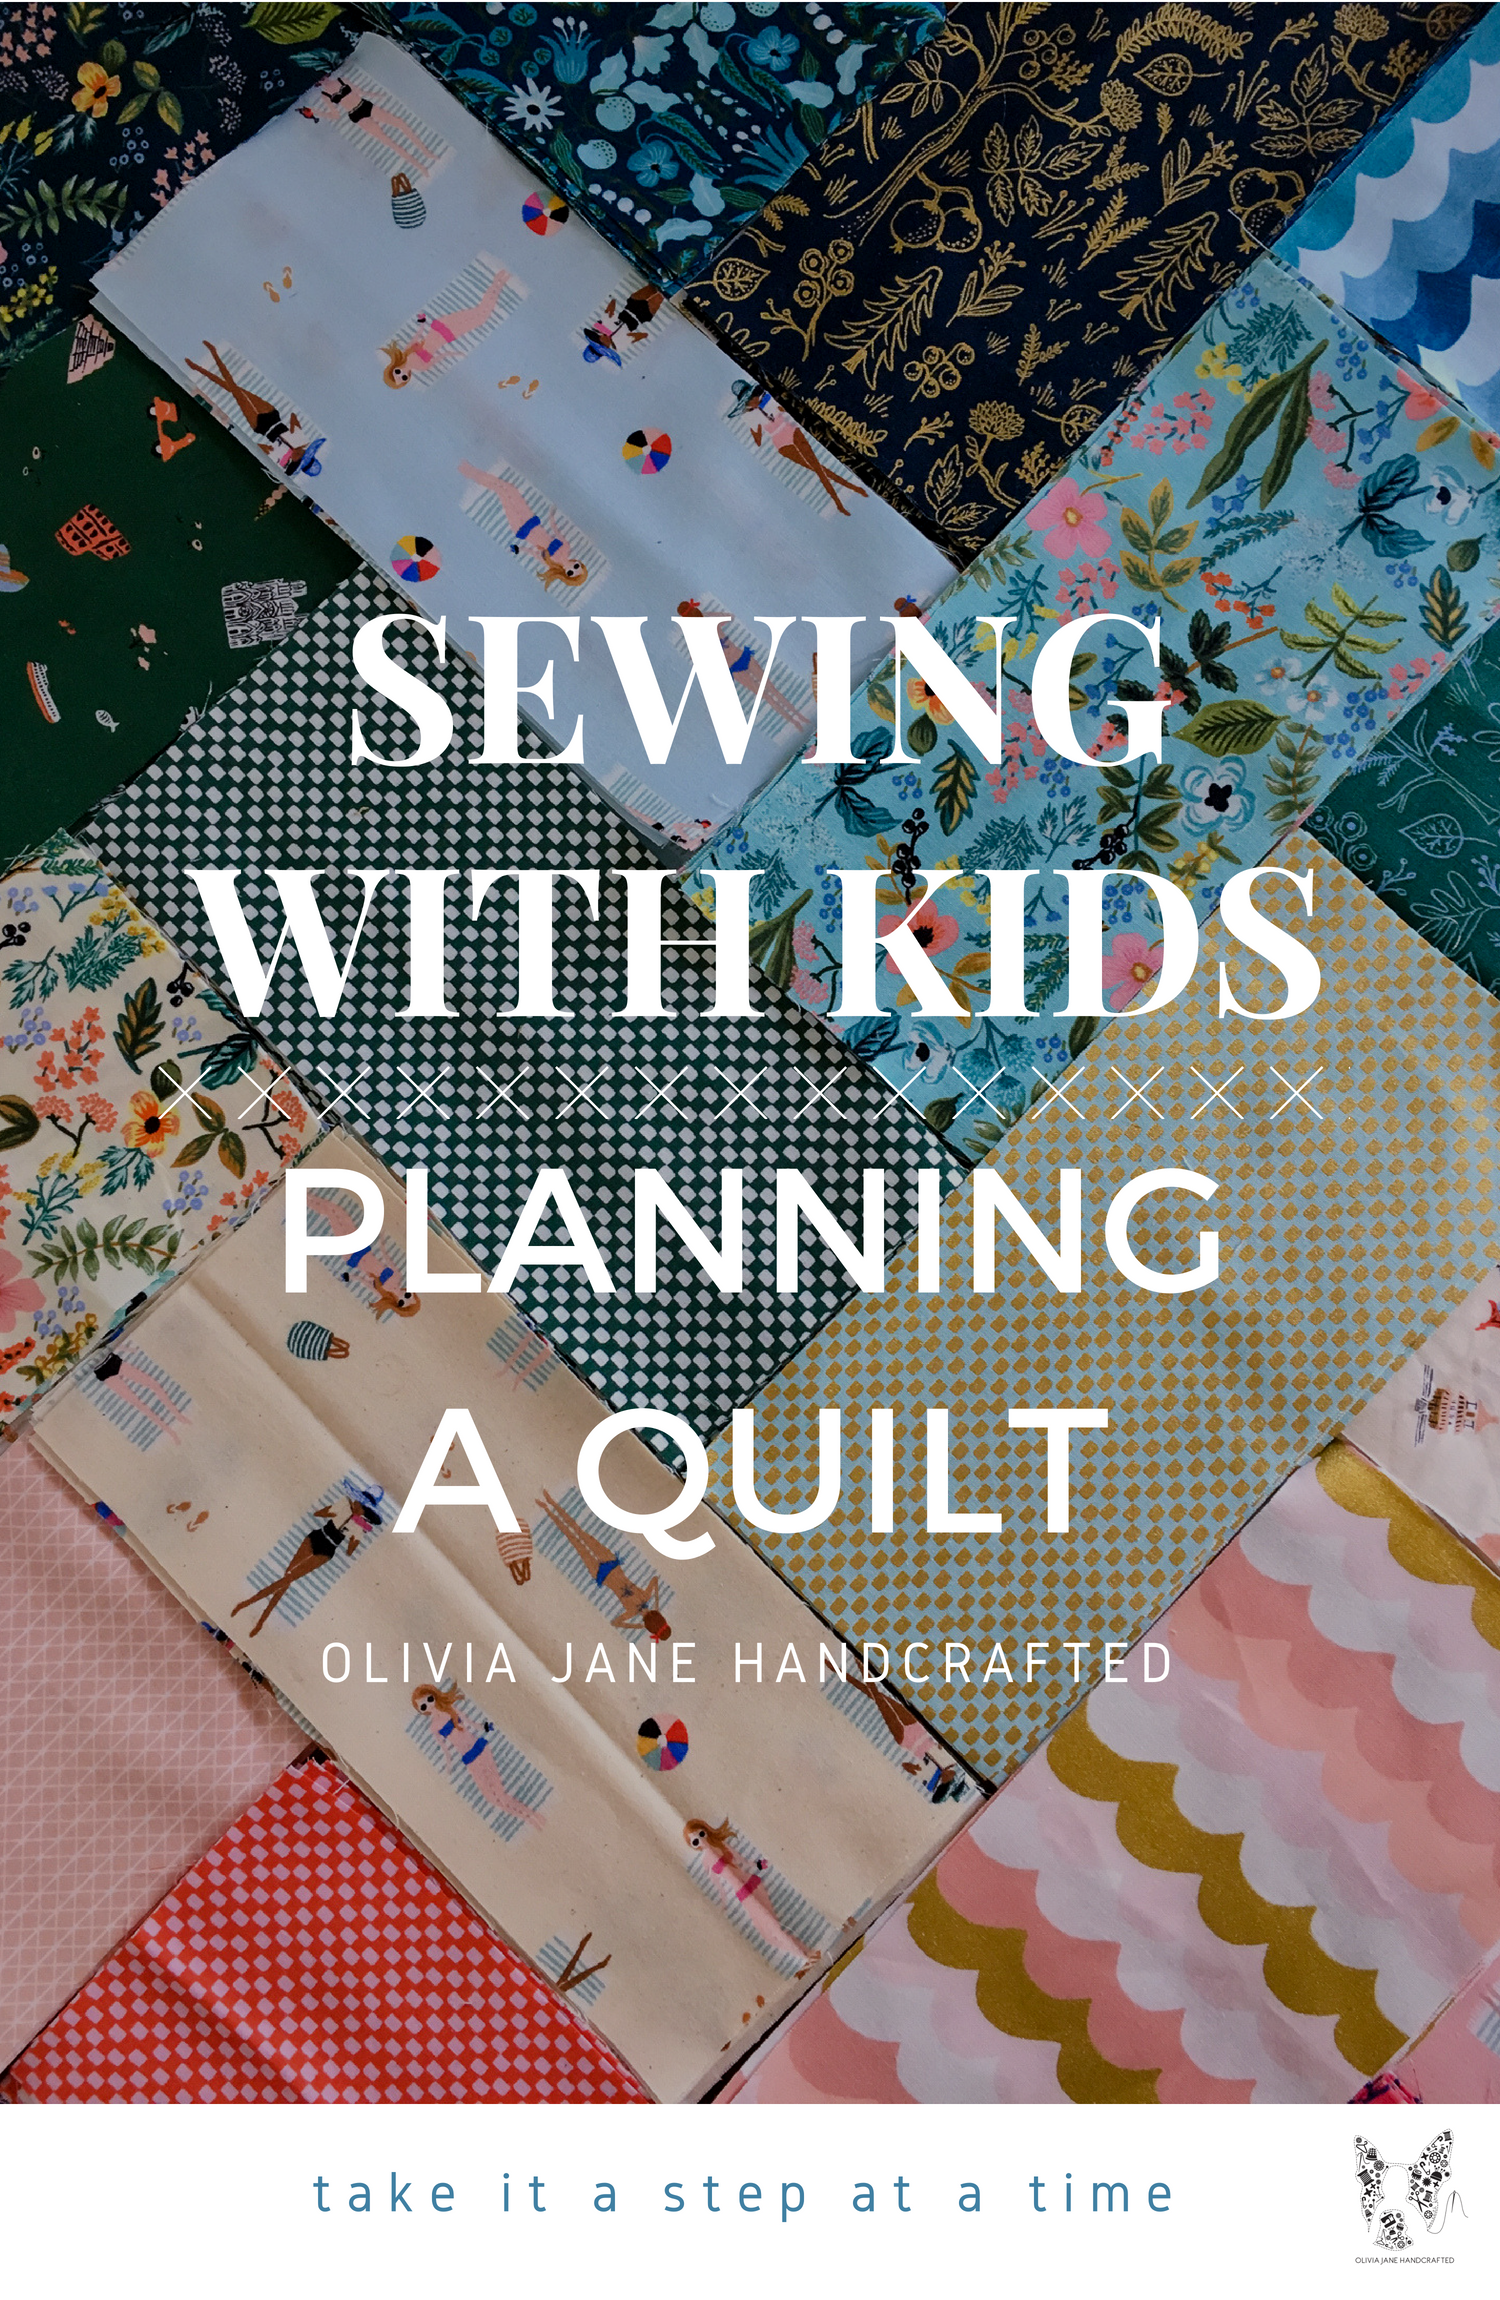
This week in our Sewing with Kids series, we are planning out a large project- a new twin size quilt. See how we are tackling the planning and cutting in this post.

This week in our Sewing with Kids series, we are planning out a large project- a new twin size quilt. See how we are tackling the planning and cutting in this post.

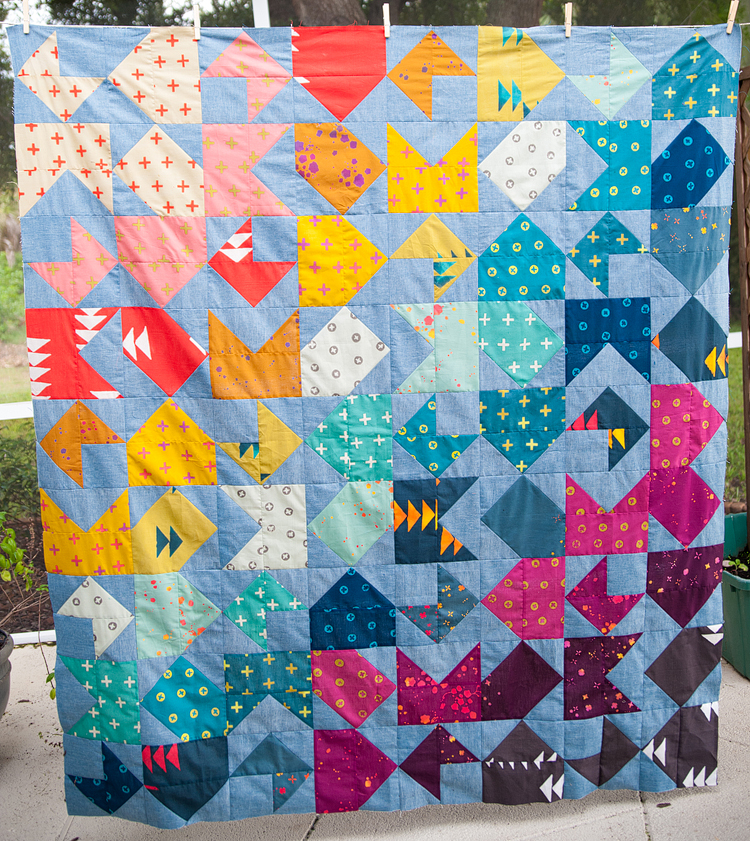
buy priligy online priligy online generic We’re ready for step two in our Opposites Attract quilt along. Do you have your materials? Have you gotten the pattern? If so, you are ready to start cutting. Once you have determined your layout (using one of the diagrams provided, or from filling out your own using the...
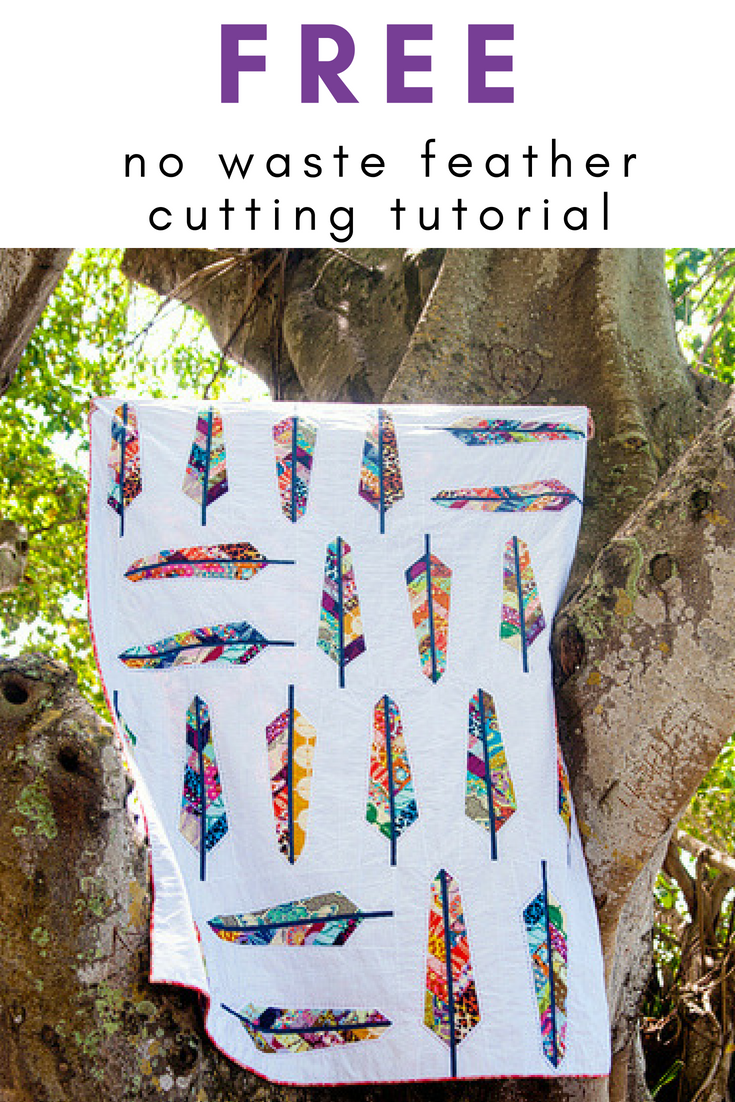
Ok- fIrst- don’t enter me! Although it would be an awesome win, I dont know that I’d be able to tackle it anytime in the near future and I want someone who knows they will hop to it and bust out an awesome quilt to win. :) just wanted to say- 1- I LOVE this pattern. Once June actually naps for me maybe I’ll make one someday. ;) 2- no- no one compares to AMH. 3- I LOVE that you always keep it real. Thanks for your honest opinion on stuff. I’ve never sewed with AG fabrics but I hear so much about them that I’ve been curious. Anyway- wonderful tutorial- i’ll keep it in mind if and when I attempt this awesome pattern. Side note- I’ve always wondered what this pattern would look like if you were to make the feather pieces from one print- as opposed to stripped pieces. I’m lazy so I’m always thinking of shortcuts like that. Wonder if it would totally lose the feather look?ReplyCancel
Olivia, thank you so much for the tutorial. I’m a beginning quilter and hadn’t thought of staggering my fabric strips.
I have a question about this pattern. When you’ve sewn all the strips together and then cut out the feather sides, you are cutting through stitching. I’ve never done that before, and I wonder about the possibility of the seams unravelling. Do I need to sew over the seams after I’ve cut the feather sides to promote longevity of the quilt?ReplyCancel
I’m glad the tutorial was helpful to you. Cutting through the stitched part is okay as long as your going to be stitching over it again. In this case, when you sew on the sides, you’ll be protecting that stitching you cut through, so there’s no need to reinforce it after cutting. My only other suggestion would be to use a stitch length of 2-2.2. :) Happy sewing!ReplyCancel
Meredith,
I wonder if I could ask for some advice…
I am a beginer quilter, and I have completed 22 feather squares and am ready to assemble tem into a quilt… BUT… My quilt squares are not perfectly identical in size! I think something in my cutting or pinning or sewing was innacurate. They all look great, but vary by about 1/16″ in length. Would you suggest trimming them to the same size prior to assembling the quilt?ReplyCancel
Nicky, I’m so sorry to be so late in getting back with you! I would definitely recommend trimming the blocks to be equal prior to sewing. Even though they’re only off by a smidge, when they are all joined together it will probably be more noticeable. Basting and quilting will be so much easier if the blocks are even and the quilt lays flat. Good luck! I’m sure its going to be amazing!ReplyCancel
Olivia, I am teaching myself to sew/quilt with online tutorials and blogs like yours. I just had to tell you that the feather bed quilt is one of the most beautiful and simple quilts I’ve ever seen. I just love everything about it. Thank you SO much for sharing your talent with those of us that really need direction and lots of helping hands! I printed out the feather pattern and one day I will make this for myself. Your work is beautiful. Have a great day!!ReplyCancel
Hi there, Sandi! I have had to do a little detective work as I’ve had an influx of emails asking me where the link has gone. Apparently she changed her site, and now the URLs for everything are different. My links to her free pattern have been updated. You can also find it right here. Happy sewing!ReplyCancel
Thank you taking the time to streamline the process. I have seen 1 quilt made like that and am excited to see if I can be as successful. I have a good stash to choose from so it’s on to washing and pressing. Hoping I can get the pattern downloaded correctly. I have made it a goal to work on new patterns instead of remaking the same quilts.ReplyCancel
That’s awesome! You can find the pattern right here! https://static1.squarespace.com/static/54af3fe5e4b06fead268b5fd/t/54d52966e4b0c433a9702ee4/1423255910958/Feather.Bed.Quilt%281%29.pdfReplyCancel
Hey Julie! A lot of people have had trouble getting to the link and I have no idea why. It seems that since she changed her site, it harder to find even though my above links are correct. Here’s that link again in case you need it. https://static1.squarespace.com/static/54af3fe5e4b06fead268b5fd/t/54d52966e4b0c433a9702ee4/1423255910958/Feather.Bed.Quilt%281%29.pdfReplyCancel
Hmm it appears like your blog ate my first comment (it was super long)
so I guess I’ll just sum it up what I wrote and say, I’m thoroughly
enjoying your blog. I too am an aspiring blog blogger but
I’m still new to the whole thing. Do you have any helpful hints for rookie blog writers?
I’d definitely appreciate it.ReplyCancel
Hi there, Sharon! Thanks for you comment. My advice is to be consistent in your content and frequency of your posts. So not what I’m doing at the moment! Readers appreciate consistently and honest content. Good photos are very helpful too. I find a lot of people like tutorials and how-to’s, but truly all you need for a loyal audience is to be faithful in posting. I hope that helps! Enjoy blogging! It’s a great outlet. ReplyCancel
I to have been making feathers but I never get the free pattern i tried many times and my daughter did also it say s free but we got no where and Stacy works on a computer for work so it’s not like she’s stupid so what gives? I just found a way to make them by looking at the pictures but I think I could have done better if I could have gotten the pattern but love and learn.ReplyCancel

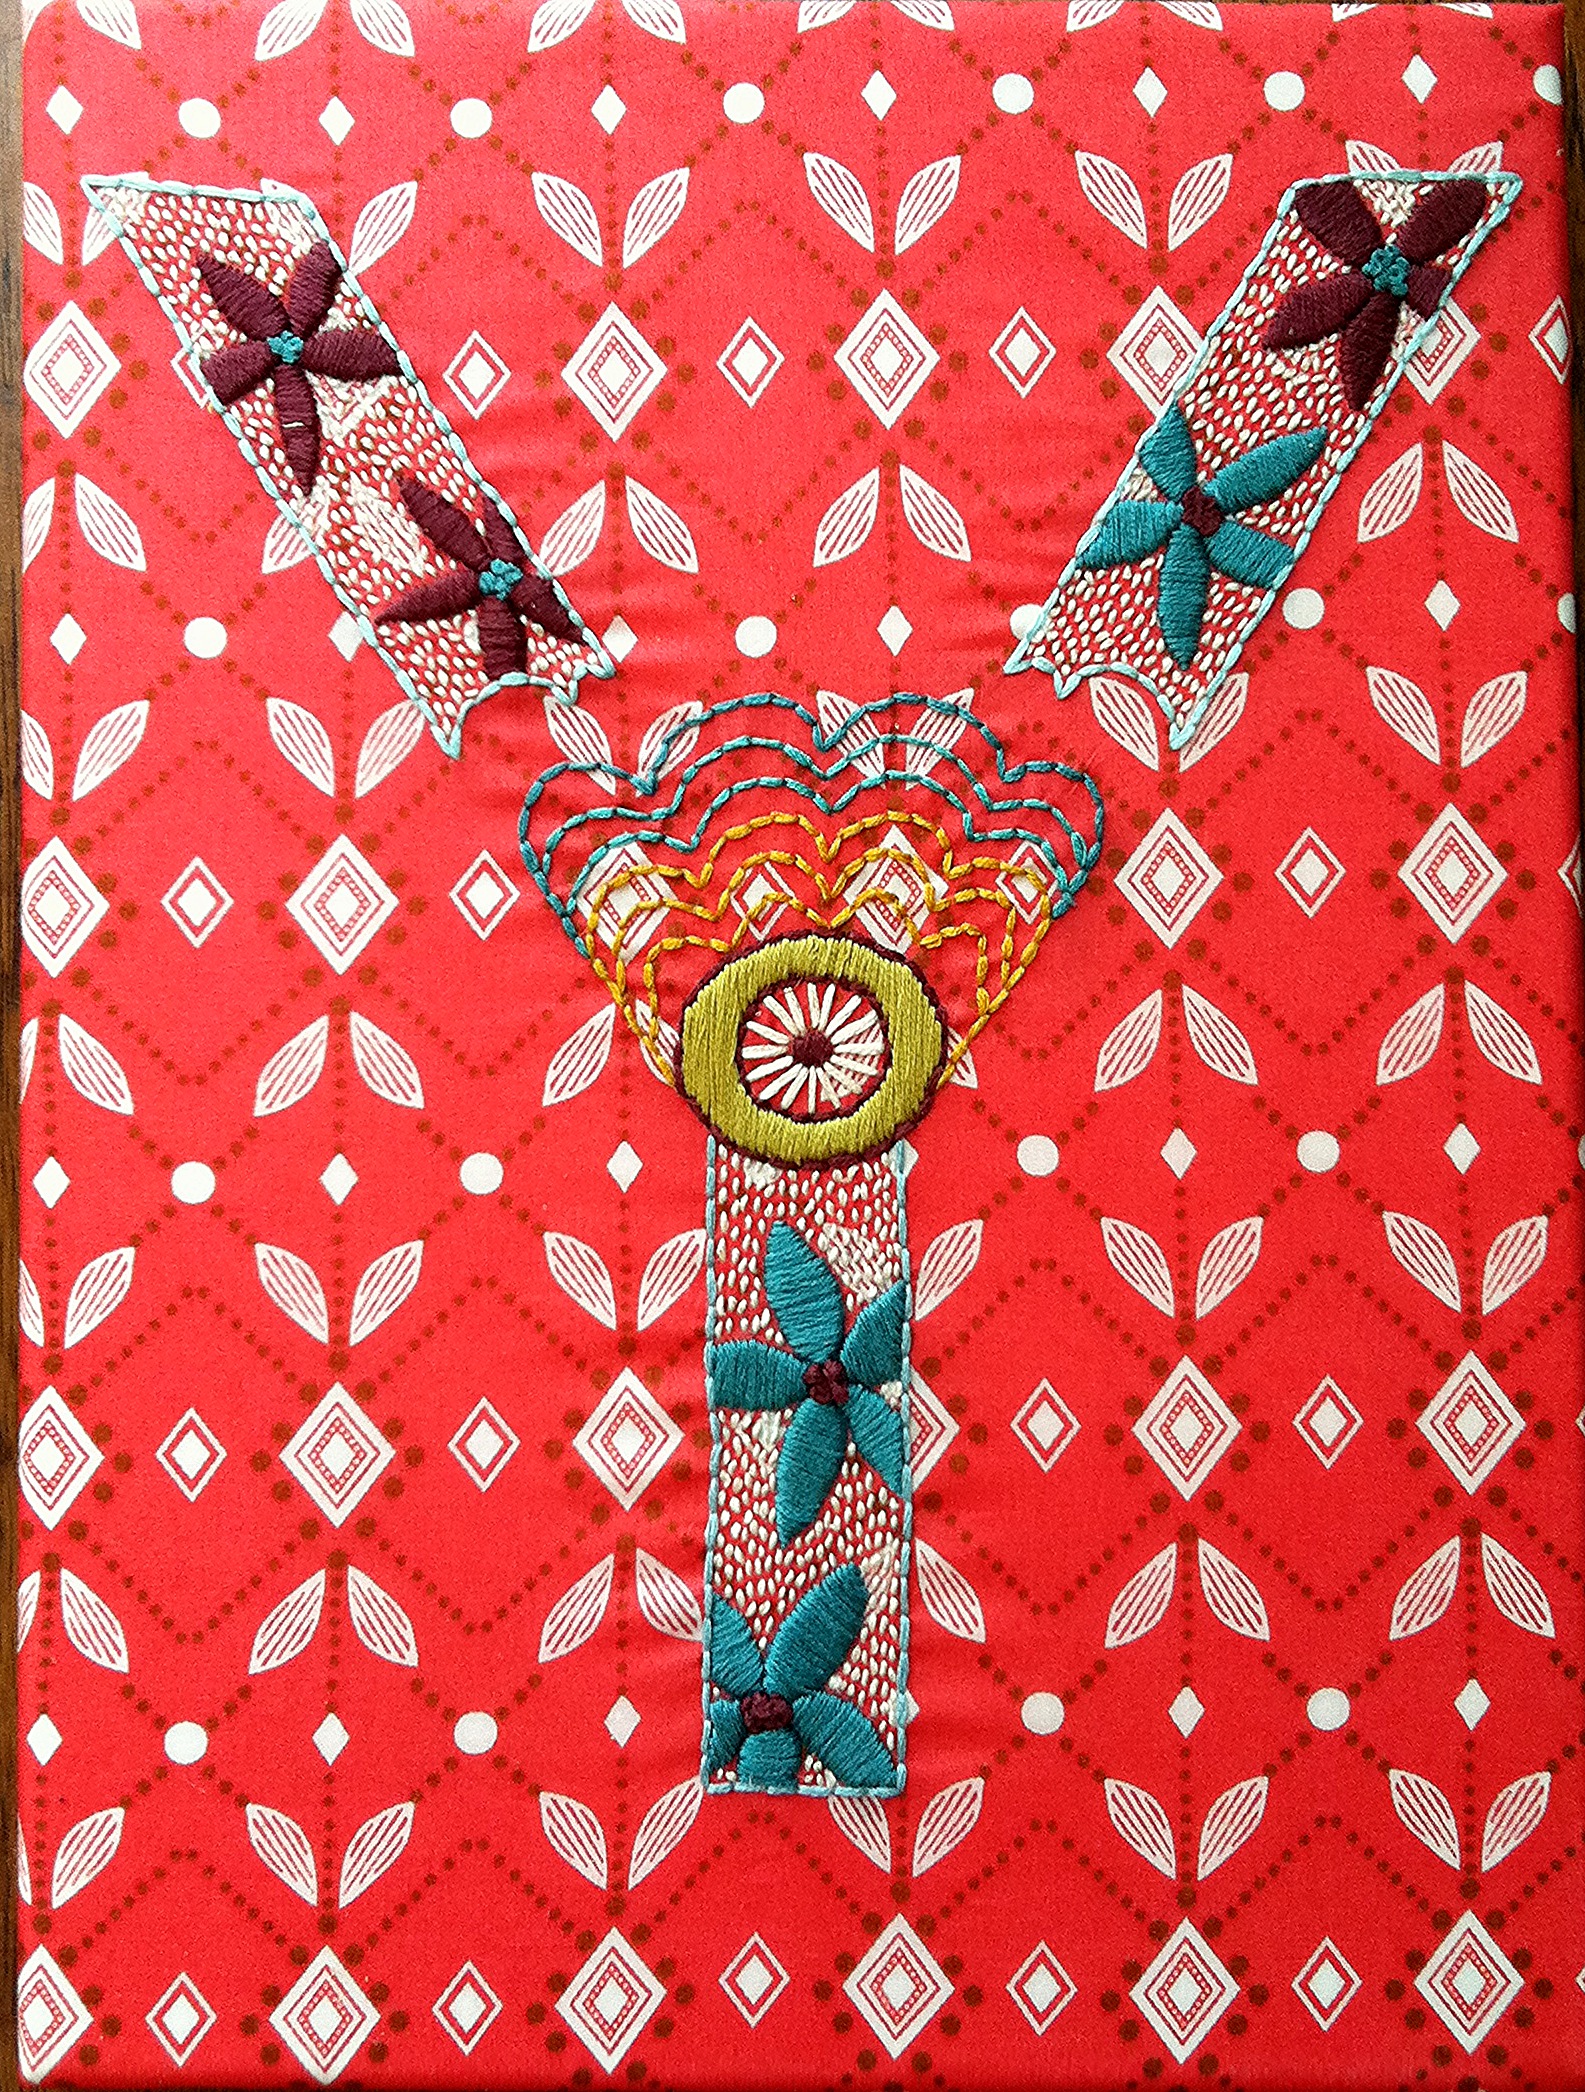
My “Layla” embroidery collection has grown by one letter, the “Y”. This was such a fun letter to do! online pharmacy purchase glucophage online with best prices today in the USA online pharmacy purchase augmentin no prescription with best prices today in the USA I love the flowers and seed stitching best. buy https://treatmentroomgroup.co.uk/wp-content/uploads/wpcode/cache/library/lariam.html online...

Welcome to Olivia Jane Handcrafted! I'm Meredith and this is my creative journal. Here you'll find loads of inspiration for a handmade wardrobe, home decor, bags, and quilts. I even have plenty of projects and tutorials to get you started or help you along the way.
Categories
Archives
copyright 2021 Olivia Jane Handcrafted, LLC|ProPhoto7

