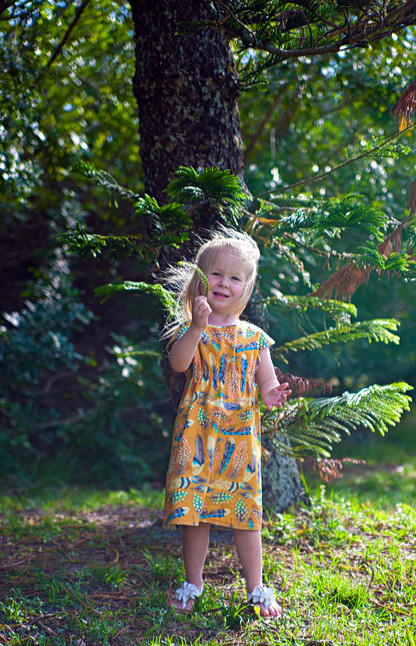
I’ve got a new dress to show you! And surprise! Its none other than the Oliver + S Roller Skate dress making another appearance. This time, its reversible! Prepare for pictures of my little ham, and at the bottom, I’ll include a little tutorial for hemming a reversible tunic/dress.
.jpg)
The Roller Skate Dress pattern is amazing! This is my third garment from this pattern, and I just love how quickly I can whip it up. This dress only took an hour to make!
.jpg)
.jpg)
I think one of the best things about it is that all the seams are enclosed, so there is no need for finishing any of the seams. While its not hard to finish seams, it is time consuming and overlocking eats up a lot of thread. So its a huge bonus that finishing the seams is unneeded.
.jpg)
.jpg)
I’m not sure if I like the blue side or the feather side better! I think I like the feather pattern more, but I like the color blue better on Layla.
.jpg)

This is such a fun dress to make! I’ll be making a few more, but with the collar next time. And I have to tell you again, if you are new to garment sewing and would love a good pattern that you can use over and over, the Roller Skate Dress is exactly what you need! It comes in sizes 6m-12, so a huge range of sizes. Give it a try, for sure!
.jpg)
.jpg)
Hemming Tutorial
To make the hem like mine (so that both front and back are sewn together for a reversible tunic/dress), you’ll need to finish everything on the dress/tunic except for the hem.
.jpg)
Separate the dress so that you can work with just one of the raw edges.
.jpg)
Use a water soluble or disappearing marking tool to mark a line 1″ from the raw edge of the wrong side of the fabric all the way around. I wanted a 1/2″ seam so I marked at 1″. You can change that to your liking.
.jpg)
Once you’ve marked one hem line, repeat the marking on the other hem line.
Fold the raw edge so that it meets the marked line and press the fabric all the way around. Do this with both the inside and outside fabrics.
.jpg)
Line up your dress/tunic, so that the back and side seams meet for both sides of the garment. Pin if desired. Using a edgestitch (1/8″) sew through both sides all the way around the bottom, overlapping beginning stitches by several stitches.
.jpg)
You can then switch over to a 1/4″ foot, and sew around the bottom again.
.jpg)
I hope this mini tutorial was helpful! Let me know if you have any questions. I feel like I’m not the best at explaining things sometimes.
.jpg)
-Meredith


Your explanation was perfect – thanks so much for sharing this tutorial! I love this pattern, and your daughter just looks too cute in it:) I think I prefer the blue on her, but you really can’t go wrong with either side!
I was wondering if you had any tips on how to transfer the marking for the casing. The suggested method of poking with a pin along the line and transferring a dot seems time-comsuming and I”m wondering if another way has been discovered!
I put the fabric over the pattern piece against my window and trace the lines onto the pieces with a disappearing pen. That way the line is perfect and all I have to do is mark. I think that takes far less time than pinning, and its more accurate.
When I made my markings I just eyeballed it. I marked at the beginning and end and “drew in” an approximate line. It turned out fine – the elastic is very forgiving. But I think Meredith’s way is better!
Thanks so much for your suggestions! Will have to give them a try:)
Oh interesting so you kept your hems separate. That makes sense. I think my first impulse would have been to hem them together. I’ve made a couple with collars, I’m ready for this version! It is a great pattern, but the collar adds quite a bit of time- at least for me!
No, no. They are hemmed together. The only way I could get away with not finishing the seams is that the dress is fully enclosed.
I’m sorry I didn’t explain that better in my post!
Oh der- no I was looking at the picture wrong. This why I have to be careful about sewing at night. ha!
Your daughter is so adorable! Where did you buy these fabrics?
Any idea who makes that feather fabric. I love it!
I think the designer is Martha Negley, but I’m not positive.